Spiritstead Spirit Buildings & Shard Mining
Turn unlocked spirits into automated labor and steady crystal income for sanctuary milestones.
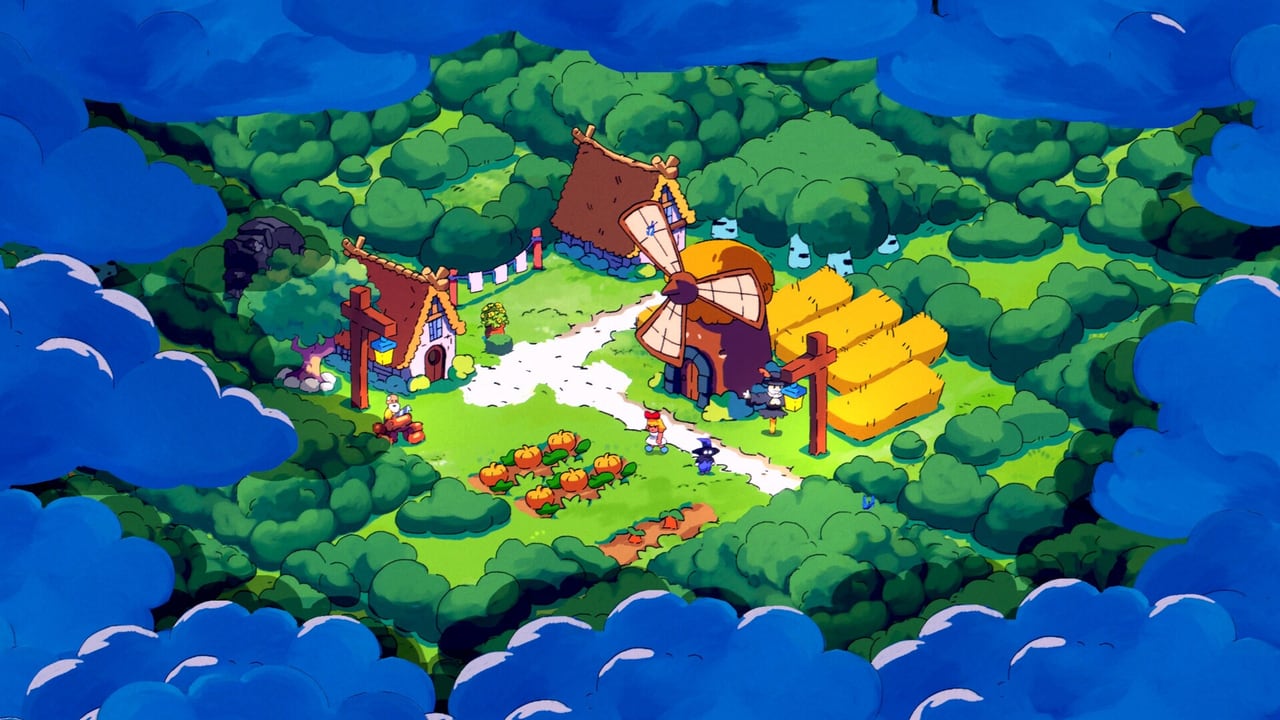
Unlocking a spirit in Spiritstead feels like finding a friend. Building that spirit’s dedicated structure feels like giving them a desk. Spirit buildings are unique placements tied to individual helpers — Peppok’s kitchen-adjacent workshop, Blumpy’s garden shed, Scruffern’s forest outpost, and so on — and they convert spirit labor into crystal shards, the currency of Grand Spirit Sanctuary restoration. Human production buildings feed villagers; spirit buildings feed the late-game win condition.
This guide explains how to unlock each structure after its spirit, assign workers to crystal nodes, avoid layout mistakes, and balance shard grinding with happiness and housing growth. Read the spirits hub first if you still need discovery hints; return here once your journal shows at least one companion ready to work.
What spirit buildings do
Every spirit building shares three roles:
- Automation — Spirits perform chores tied to their personality (cooking, gardening, clearing brush, weather-linked tasks) without manual dragging.
- Shard generation — Structures passively or actively produce crystal shards when spirits are assigned and supplied.
- Sanctuary progress — Shards unlock sanctuary tiers documented in the sanctuary restoration guide, gating new territories and story beats in Adventure Mode.
Spirit buildings are not happiness sources on their own. Villagers still need cafés, markets, and bonfires plus decorations when morale dips. Treat spirit structures as backend infrastructure — place them near resource lines like warehouses rather than scenic town squares unless a quest demands aesthetics.
Unlocking the building after the spirit
Discovery and construction are separate steps. Peppok may join after you cook chicken, but Peppok’s building appears in the build menu only once the journal entry completes and any related Adventure quest clears. Demo players reported moments where the spirit unlocked before the blueprint — if that happens, advance one quest chapter or reload; Turbo Dog Games noted they plan clearer instructions in release builds.
General pattern:
- Complete the world interaction from How to Unlock Spirits.
- Check the build menu under spirit or special tabs for a new icon.
- Pay wood, shards, or quest tokens listed in the tooltip.
- Place the footprint on valid terrain near supporting human buildings.
Creative Mode exposes all spirit buildings immediately for layout tests, but shard milestones may still require Adventure progress — confirm in your build version.
Crystal nodes and assignment
Shard income scales with crystal nodes in expanded territories — glowing deposits unlocked as you push from Green Forest toward Snow and beyond. After placing a spirit building:
- Select the structure and open its assignment panel.
- Drag the matching spirit icon onto the slot (only Peppok works in Peppok’s building, etc.).
- Link nearby crystal nodes if the UI supports multi-select; some builds auto-detect nodes within radius.
- Keep wood and food warehouses within reasonable distance so supply warnings do not pause mining.
Nodes compete with human log cutters and farms for map space. Plan roads early using the map overview so spirit haulers do not path through cramped housing clusters. If shard output stalls, verify three failure points: unassigned spirit, depleted node, or paused supply chain.
Spirit-by-spirit building notes
Peppok — food automation anchor
Peppok’s building belongs near chicken coops, farms, and food warehouses. Adventure economies often bottleneck on cooked meals when population jumps; Peppok removes click fatigue. Prioritize this structure before mass-building houses. Cross-link production guide sections on coops and pumpkin plots.
Blumpy — decoration and floral synergy
Blumpy rewards players who invest in decorations. Place the building adjacent to flower beds and walking paths so automated tasks overlap with happiness fixes. Blumpy shard rates may look modest early, but reduced manual planting saves hours in Creative sandboxes.
Scruffern — frontier and forest edge
Scruffern prefers map edges where log cutting meets wilderness. Use Scruffern buildings as forward bases when expanding toward new biomes — they clear obstacles that block roads to crystal nodes. Pair with sawmills so wood income keeps pace with territorial sprawl.
Mizzrick — weather-linked output
Mizzrick’s structure interacts with time and weather systems. Expect burst shard income during correct conditions and slower ticks otherwise — not a bug. Assign Mizzrick after you stabilize baseline automation; see the tier list for timing advice.
Bluji — full release placeholder
Bluji lacks a public building loop in demos. Reserve sanctuary-adjacent plots in late Adventure saves so you can relocate human decorations when Bluji arrives in the full August 6, 2026 release.
Layout and upgrade priorities
Cluster by supply type. Food spirits near food warehouses; forest spirits near wood warehouses and sawmills. Shared roads reduce invisible pathing delays.
Upgrade before duplicating. Higher-tier spirit building upgrades usually beat placing second copies of the same structure — check tooltips for shard multipliers before spamming builds.
Do not starve humans for shards. If villagers go hungry while spirits mine, happiness collapses and quests stall. Maintain minimum housing and bonfire coverage before maxing shard focus.
Use Creative for blueprints. Sketch spirit districts in Creative Mode, then replicate in Adventure once resources allow. Screenshot footprint sizes — some structures are wider than standard homes.
Sanctuary connection
Grand Spirit Sanctuary restoration consumes shards in escalating chunks. Spirit buildings are the primary renewable shard source after one-time quest rewards dry up. The loop looks like:
- Unlock spirit → build structure → assign to node.
- Bank shards while advancing Adventure walkthrough chapters.
- Spend shards on sanctuary tiers that unlock new spirits, biomes, or building tiers.
- Reinvest new spirits into additional structures for compounding returns.
Late Adventure bottlenecks are intentional — Turbo Dog Games wants six to eight hours of gentle pacing. If grinding feels slow, confirm you are not leaving nodes unassigned or letting warehouses sit empty.
Common mistakes
- Building before unlocking — Blueprints stay gray until journal entries complete.
- Wrong spirit assignment — Each building accepts only its matching helper.
- Ignoring warehouses — Automation pauses when inputs vanish.
- Happiness neglect — Shard tunnels mean nothing if villagers leave.
- Adventure cap confusion — Demo level four limits may block upgrades; test in Creative if stuck.
Fix mistakes by cross-reading How to Unlock and Buildings hub pages — human infrastructure and spirit infrastructure fail together when only one side is optimized.
Frequently Asked Questions
Quick answers to the most common questions.
When does a spirit building appear in the menu?
Usually right after the spirit's journal entry unlocks and any linked quest step completes. If it is missing, advance Adventure one objective or relaunch after a save.
How do I increase crystal shard income?
Assign the correct spirit, keep crystal nodes active, upgrade the building when possible, and maintain nearby warehouse supplies so work never pauses.
Can multiple spirits share one building?
No. Each spirit building ties to one helper. You need separate unlocks and structures for Peppok, Blumpy, Scruffern, and others.
Do spirit buildings affect villager happiness?
Not directly in current demos. Happiness still comes from bonfires, cafés, markets, and decorations — do not skip them while chasing shards.
Should I build spirit structures in Creative Mode?
Yes for layout planning and interaction tests. Shard spending toward sanctuary may still require Adventure progress depending on your build version.