Spiritstead Decorations & Village Aesthetics
Paths, flowers, and props — fix happiness, unlock Blumpy, and make Spiritstead screenshot-ready.
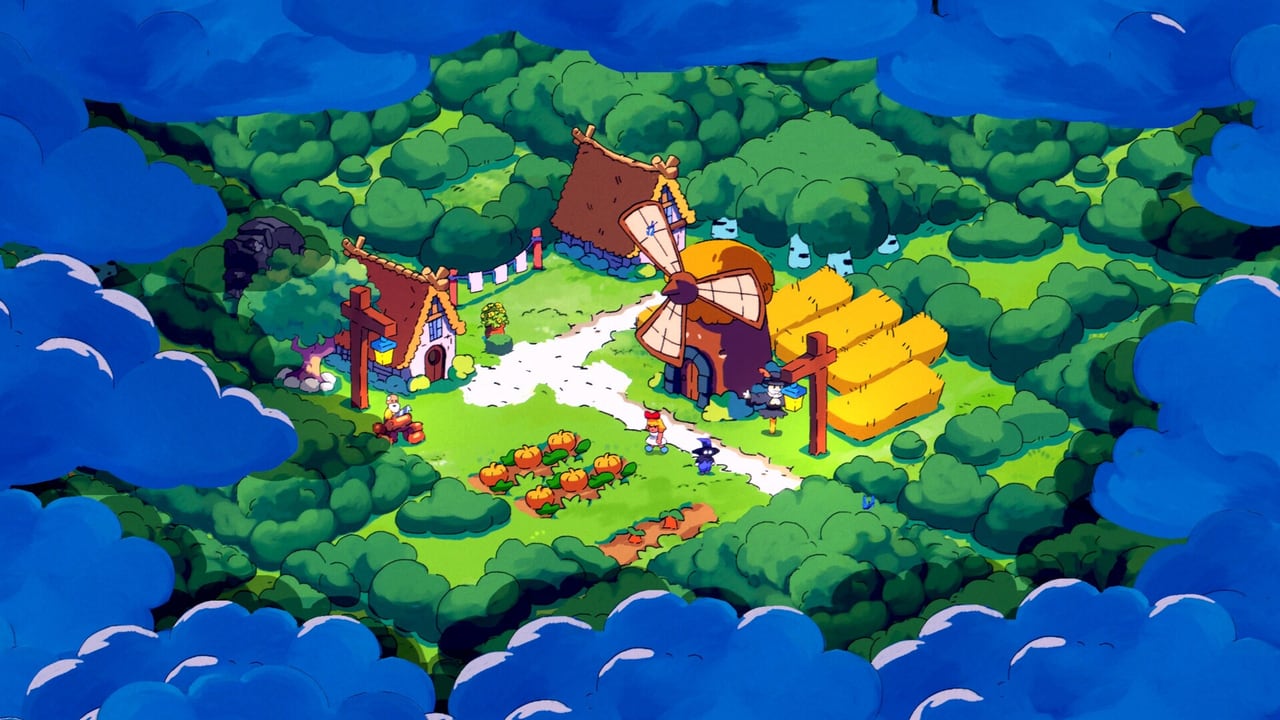
Decorations are the difference between a functional Spiritstead save and a village you want to screenshot. Turbo Dog Games drew the world with Miyazaki-inspired warmth — your job is to echo that coziness with paths, flower beds, fences, lamps, and scattered props unlocked through Adventure chapters or Creative Mode. Decorations are not vanity: demo players needed them to stop happiness slides even when cafés and bonfires existed, and Blumpy unlocks through flower experiments documented in the spirits guide.
This page covers decoration categories, budget pacing against production, layout tips with housing, and spirit hunt synergy. Start at the buildings hub if you have not stabilized wood and food yet — decorations should not bankrupt your first sawmill.
Why decorations matter mechanically
Decorations affect gameplay systems:
- Happiness recovery when morale dips despite full food warehouses.
- Spirit discovery — especially Blumpy and press-kit interactions involving playful world tricks.
- Quest completion — some Adventure steps require minimum decoration counts or specific props.
- Creative expression — the primary draw of Creative Mode without sanctuary timers.
Developer itch.io responses thanked players who noted happiness dropping because they skipped decorations entirely. Treat props as infrastructure with art direction, not optional fluff.
Flower beds and Blumpy hunts
Flowers are the highest-utility decoration type early because they double as Blumpy unlock tools. “Experiment with flowers” means:
- Plant beds along main paths and near bonfires.
- Try different species or color mixes as Adventure unlocks them.
- Relocate beds with F reposition if initial plots miss journal triggers.
- Test freely in Creative Mode if Adventure caps block advanced floral recipes — see spirits hub on level four demo limits.
After Blumpy joins, flower automation via spirit buildings reduces manual replanting — still leave showcase beds for town identity.
Paths and roads
Paths guide villager pathfinding and visually connect houses to markets and industrial zones. Unpathed towns look organic but confuse players tracking hauler bottlenecks.
Best practices:
- Lay paths from housing to bonfires first, then extend to warehouses.
- Widen intersections near markets and cafés to reduce crowding.
- Avoid encircling log cutting camps so trees remain accessible.
Paths cost less wood than buildings — excellent happiness band-aids between major café investments.
Props, fences, and accent pieces
Later unlocks add fences, lanterns, signs, and biome-themed props tied to Green Forest and Snow transitions in the map overview. Use accents to:
- Frame dog houses and special housing charm buildings.
- Mark district borders between industrial wood zones and residential cores.
- Hide awkward terrain seams when expanding toward new territories.
Props rarely beat flowers for spirit hunts but stack happiness when paired with cafés.
Decoration budget pacing
| Game phase | Decoration spend |
|---|---|
| First hour | Minimal — one path strip + bonfire ring |
| Post-sawmill | Flower beds for happiness + Blumpy |
| Mid Adventure | Plaza props around market/café |
| Pre-sanctuary | Spirit district accents, not town-wide gold sinks |
| Creative | Unlimited — test themes for Adventure import |
Never fund decorations by deleting coop assignments — food collapse undoing mood gains.
Layout themes that work
Central plaza — Market, café, bonfire, dense flowers, radiating paths. Best for happiness efficiency.
Forest edge cozy — Log cabins with fence lines and warm lamps facing wilderness — pairs with Scruffern exploration themes from tier list.
Industrial buffer — Decorative tree lines hiding sawmills from residential sightlines — mood boost without moving production.
Screenshot hunters sync decoration colors with Spiritstead’s green-gold palette in site.meta.json theme accents for wiki parity — optional fan flair.
Decorations vs happiness buildings
Decorations complement — not replace — happiness buildings. Build order when mood crashes:
- Confirm food production stable.
- Add or upgrade bonfire.
- Place flower paths and cheap props.
- Save for café if yellow bars persist.
- Resume housing expansion only when green.
Creative Mode decoration labs
Creative Mode is the sanctioned space to plan decoration-heavy towns without shard quest pressure. Prototype a plaza, note wood costs, recreate in Adventure when resources match. Hunt Mizzrick weather setups in decorated plazas that double as item placement testing zones per unlock guide.
Common mistakes
- Zero decorations rush — happiness drops despite cafés; developers confirmed this pattern in demo feedback.
- All budget, no paths — villagers path inefficiently; mood and logistics suffer.
- Flower spam without experiments — Blumpy needs interaction variety, not one duplicated bed.
- Decor before warehouses — pretty towns with idle farms help nobody.
Related reading
- Happiness buildings — cafés, markets, bonfires.
- How to unlock Blumpy — flower experiments.
- Housing — where paths must connect.
- Production — wood income for decoration bills.
Frequently Asked Questions
Quick answers to the most common questions.
Do decorations increase happiness in Spiritstead?
Yes. Demo feedback shows decorations are required alongside happiness buildings to stabilize villager mood when food is already secure.
Which decorations help unlock Blumpy?
Flower beds and floral experiments trigger Blumpy. Try planting and arranging different flowers rather than relying on a single static bed.
When should I start building decorations?
Add basic paths and flowers soon after your first bonfire and stable food. Scale up once sawmill wood income supports café-tier investments.
Are decorations required for Adventure quests?
Some chapters ask for minimum decoration counts or specific props. Check quest text and keep spare wood for sudden requirements.
Can I decorate freely in Creative Mode?
Yes. Creative Mode is ideal for testing layouts and Blumpy experiments without Adventure resource pressure or sanctuary timers.